Table of Contents
Winterizing chicken coops is an essential part of preparing your flock for the colder months. While hens are hardy birds, they could stop producing eggs if they aren’t kept warm enough during chilly spells.
Weaker members of your flock might even fall ill, making it difficult for them to recover in the cold.
Transitioning your chickens to winter weather doesn’t have to be daunting. We’re about to provide you with five super simple steps to ensure your coop is ready to face the cold and keep your feathered friends happy, healthy, and thriving. Let’s begin.
1. Clean and Inspect Your Coop
The first step in winterizing your chicken coop is cleaning it thoroughly before the cold weather starts. This ensures the health and safety of your birds during the chilly months when they tend to spend more time indoors.
Cleaning your coop includes removing and scrubbing any feeders, waterers, nesting boxes, perches, and other accessories you have inside. After cleaning these items, leave them in the sun to dry and sanitize, which helps to kill any remaining bacteria or pathogens.
PRO TIP: Using natural nesting pads can help keep eggs more sanitary, prevent egg cracking, and make nesting box cleaning a breeze.
Use scrapers to remove all the droppings off the inside of the enclosure before wiping the surfaces down with industrial strength cleaner. Pay special attention to corners, crevices, and areas where excrement accumulates.
Once the coop has been scrubbed, rinse all surfaces with water and allow them to air dry completely.
Now that your coop is clean and empty, you should take a look around to ensure that it’s ready for the winter. Look for cracks or holes that may allow cold drafts to enter or predators to gain access.
Seal these openings using appropriate materials like caulk, weather stripping, or hardware cloth to maintain a cozy and secure environment for your chickens.
Inspect the roof for loose or missing shingles and repair any damage to prevent leaks during winter rains or snow. You should also check the windows and doors to ensure they close tightly and provide adequate protection against the elements. This is also a great time to make sure your wood is protected by ensuring it has a good coat of stain.
Addressing these maintenance concerns before the cold starts helps safeguard your chickens from the harsh winter conditions and ensures their well-being throughout the chilly season.
2. Ensure Your Coop Has Good Ventilation
Ensuring that your chicken coop has adequate ventilation is a crucial part of winterizing it effectively. Proper airflow is essential for maintaining healthy air quality within the enclosure and preventing issues like ammonia accumulation.
Having ventilation in your coop prevents your birds from getting frostbite, as it allows moisture to escape from the enclosure. It also helps to manage dust levels, which could cause respiratory problems.
Start by assessing the existing ventilation in your chicken coop. If you see condensation inside your windows, it’s a sign that you need more airflow in the enclosure. Check any vents to ensure they aren’t obstructed by debris, cobwebs, or bedding material.
If you find that your coop isn’t getting enough ventilation, consider adding some additional vents. Install them near the roofline to allow warm, moist air to escape while preventing drafts from directly hitting your chickens.
If you’re worried about your birds being exposed to drafts on particularly windy days, you could place covers on your vents that can be opened and closed as needed.
Check and clean your vents throughout the winter season to ensure they remain clear and functional. Remove any ice or snow buildup that may block airflow and be sure to replace damaged vent covers promptly.
3. Use the Deep Litter Method
The deep litter method is a sustainable way to manage the bedding in your chicken coop while helping to insulate your flock against cold weather.
It involves continuously adding layers of litter to the floor of your chicken coop, allowing it to decompose over time and create a natural composting process.
Begin by adding a generous layer of absorbent bedding to your clean coop. Aim for a depth of at least several inches to provide adequate cushioning for your birds. Hemp bedding is a great option for this that lasts longer than pine shavings as you can see from the table below.
Litter options include:
Throughout the winter months, regularly turn the litter with a pitchfork to aerate it and promote decomposition, adding fresh bedding to maintain a sufficient depth. Aim to add new litter every week, depending on the moisture and odor levels inside your coop.
Over time, the deep bedding will naturally begin to compost, generating heat as it decomposes. This process helps to insulate your coop, providing warmth for your chickens during the colder months.
The composting action also creates a beneficial microbial ecosystem that helps break down waste and reduce odors.
You should periodically remove any excess buildup of bedding and composted material from the coop to maintain proper ventilation. This waste can safely enrich your garden soil or compost pile.
4. Keep Wind and Snow Out
Another important step to take when winterizing your chicken coop is to keep wind and snow out. The first step is making sure you have some kind of roof for your run extension. Keeping the snow and rain out from the top is a simple and easy fix and the Chicken Coop Company run extension easily installs on top if your existing run.
The second step is setting up a wind block around the enclosure. During the winter months, chilly winds can heighten the effects of cold weather on your flock.
Wind blocks help keep your birds warm and healthy by reducing their exposure to chills and preventing snow from blowing into the coop. They also decrease your birds’ chances of developing frostbite as they limit the direct contact of cold air with their skin.
Additionally, wind blocks create a more comfortable and sheltered environment for your chickens, encouraging them to remain active and healthy even during inclement weather.
A great option for creating a wind block around your coop is to use a storm panel set which is usually a type of polycarbonate panels. These panels are usually see through but do a great job blocking the wind, rain and snow from coming in the sides of the run and underneath the coop.
Construction plastic can also be used. This material comes in large rolls that easily cover the sides of your enclosure. Staple the plastic to the supports of the coop and then batten it down to keep the staples from pulling loose.
You could use a tarp instead of construction plastic, but these are often more difficult to work with and allow less light to pass through them. Light is important for the health of your flock so proceed with caution.
Make sure to put the wind block up on the windiest side of your chicken coop to maximize its effectiveness in shielding your birds from cold drafts. Observing your area's prevailing wind direction can help you determine its optimal placement.
By positioning your wind block strategically, you create a barrier that redirects cold winds away from the coop, providing a more sheltered environment for your birds.
5. Prevent Water From Freezing
Dehydration can be an issue in winter when your birds breathe in cold, dry air. The low temperatures can cause moisture in their breath to evaporate more quickly, leading to increased water loss through respiration.
Chickens may drink less water in colder weather when they’re less active.
To ensure your birds stay hydrated, insulate your water containers to slow down the rate of heat loss and delay freezing. Wrap your waterers with foam insulation or use specially designed jackets that are made to retain heat.
You should also always place your water containers in sheltered chicken coop areas, away from drafts and cold air currents.
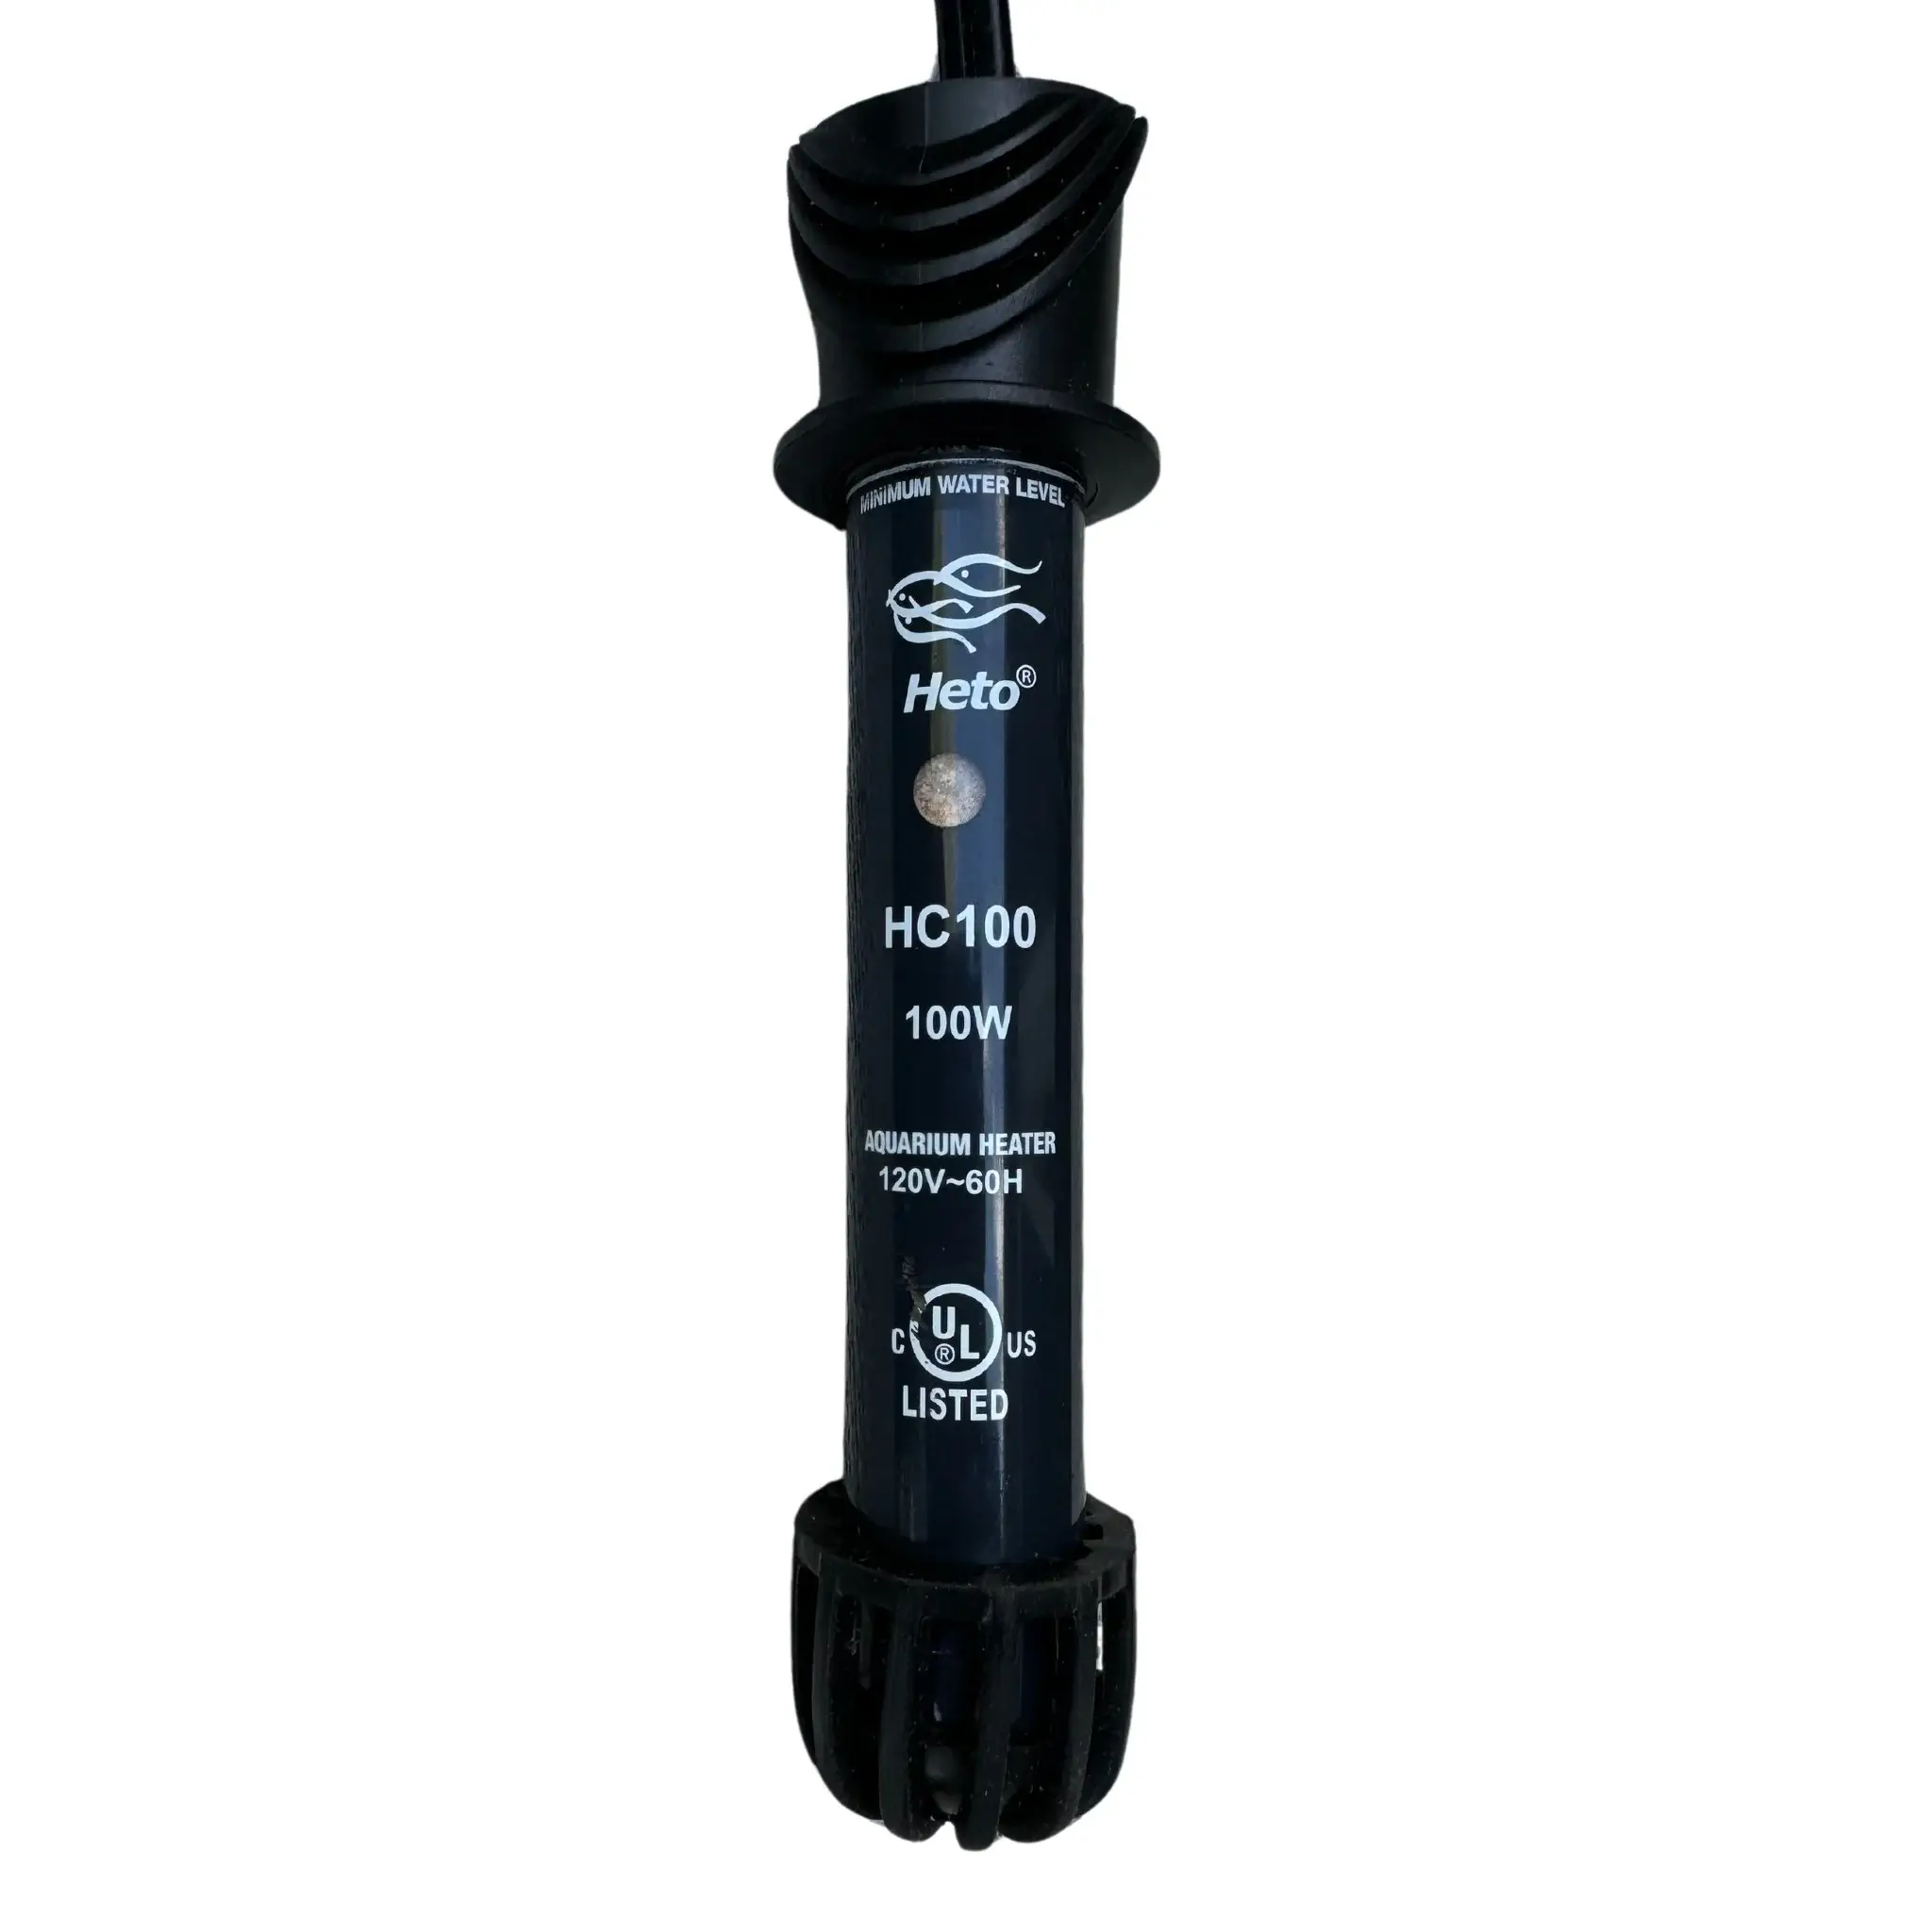
Also, consider investing in heated waterers that are specifically made for poultry. These devices have built-in heating elements that keep the liquid above freezing temperatures, ensuring your chickens have access to water at all times.
Heated waterers are available in several styles, so there are options to suit different coop setups and flock sizes. A drop-in chicken water heater is a great option for larger waterers and for colder climates the 100 watt variety seems to work well.
Regardless of the preventative measures you use to keep your water from freezing during the winter, you must regularly check your containers for signs that they’ve solidified and refresh them as needed.
Break up any ice that forms on the surface of the water and replenish it with fresh, unfrozen liquid several times a day, especially during extreme cold spells.
6. Use a Radiant Heater in Your Chicken Coop
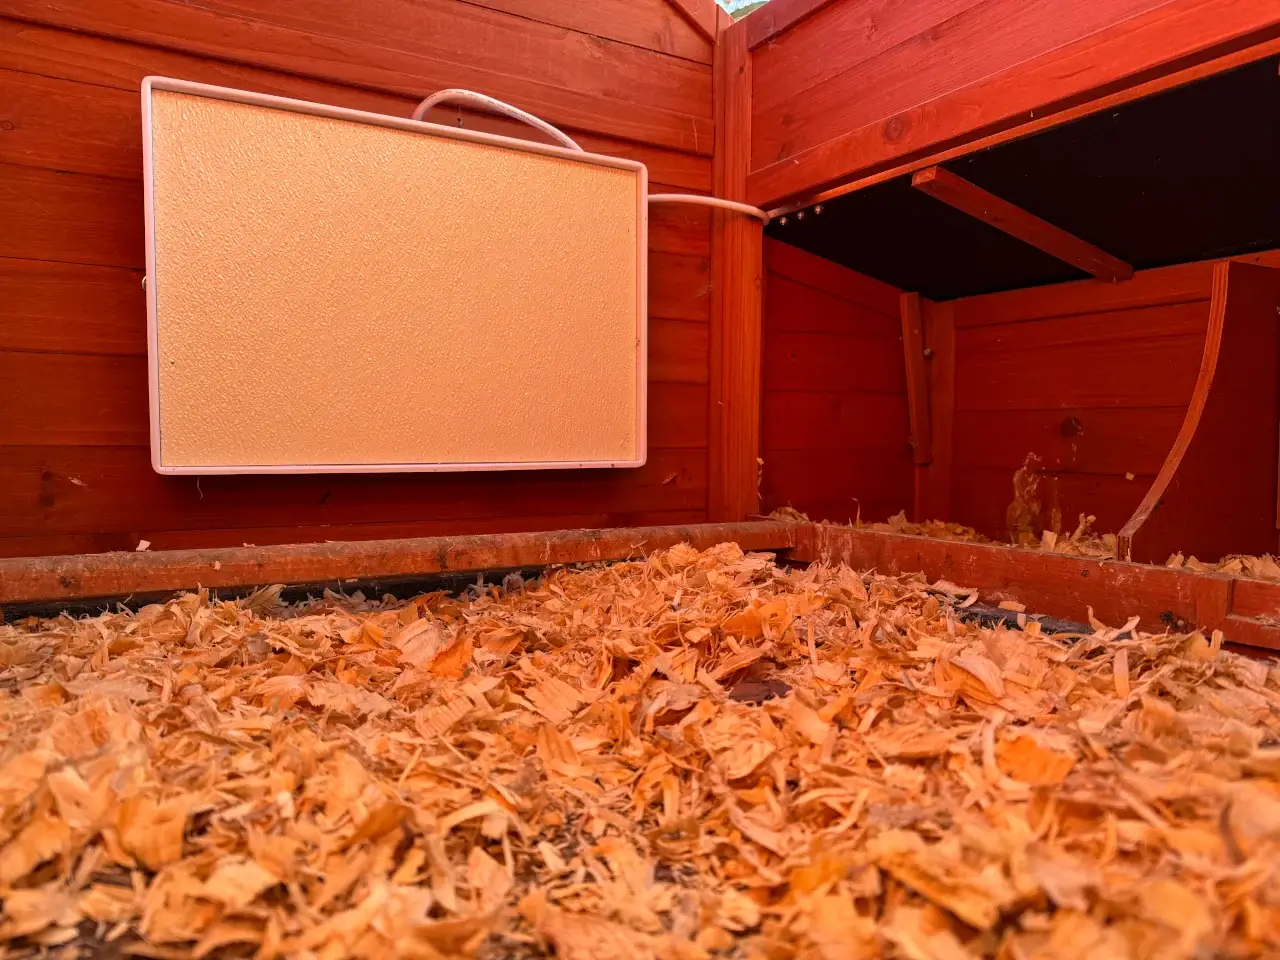
Traditional heating solutions, like heat lamps, are notorious for their safety risks — primarily the danger of fires. The radiant heater provides a safer, more energy-efficient alternative, making it a wise choice for your winter preparations.
The Big Chicken Co. Coop Heater is easy to install and brings with it a suite of safety features, including an automatic shut-off to prevent overheating. Its design allows for easy mounting on the coop wall or ceiling, and no special tools are required, which makes it accessible even if you're new to chicken raising.
Furthermore, the heater operates at a lower wattage than traditional bulbs, significantly reducing energy usage. This translates to lower electricity costs, helping you manage your budget more effectively during winter months.
Finally, the heater comes in several sizes to accommodate various coop dimensions, ensuring that no matter the size of your setup, there’s a heater that fits perfectly from smaller models suitable for compact coops to larger units designed for extensive setups.
Remember: regular monitoring and adjusting the heater's position according to your chickens' behavior are essential. Observing how they respond to the heat will help you fine-tune its placement, ensuring they are comfortable and safe throughout the winter.
By integrating a radiant heater like the Big Chicken Co. Coop Heater into your chicken coop, you ensure your flock thrives during the cold months, with safety and efficiency at the forefront of this winterizing solution.
Ready, Set, Winter
Winterizing your chicken coop doesn’t have to be tiresome. By following our five super simple steps, you can ensure your feathered friends stay warm, happy, and healthy throughout the colder months.
From providing adequate ventilation to preventing water from freezing and adding cozy bedding, each step plays an important role in creating a comfortable winter haven for your chickens.
So ready, set, winter. With our easy-to-implement strategies, you’ll be well-equipped to face the season's challenges while keeping your flock thriving.


