Spring Cleaning For Your Chicken Coop
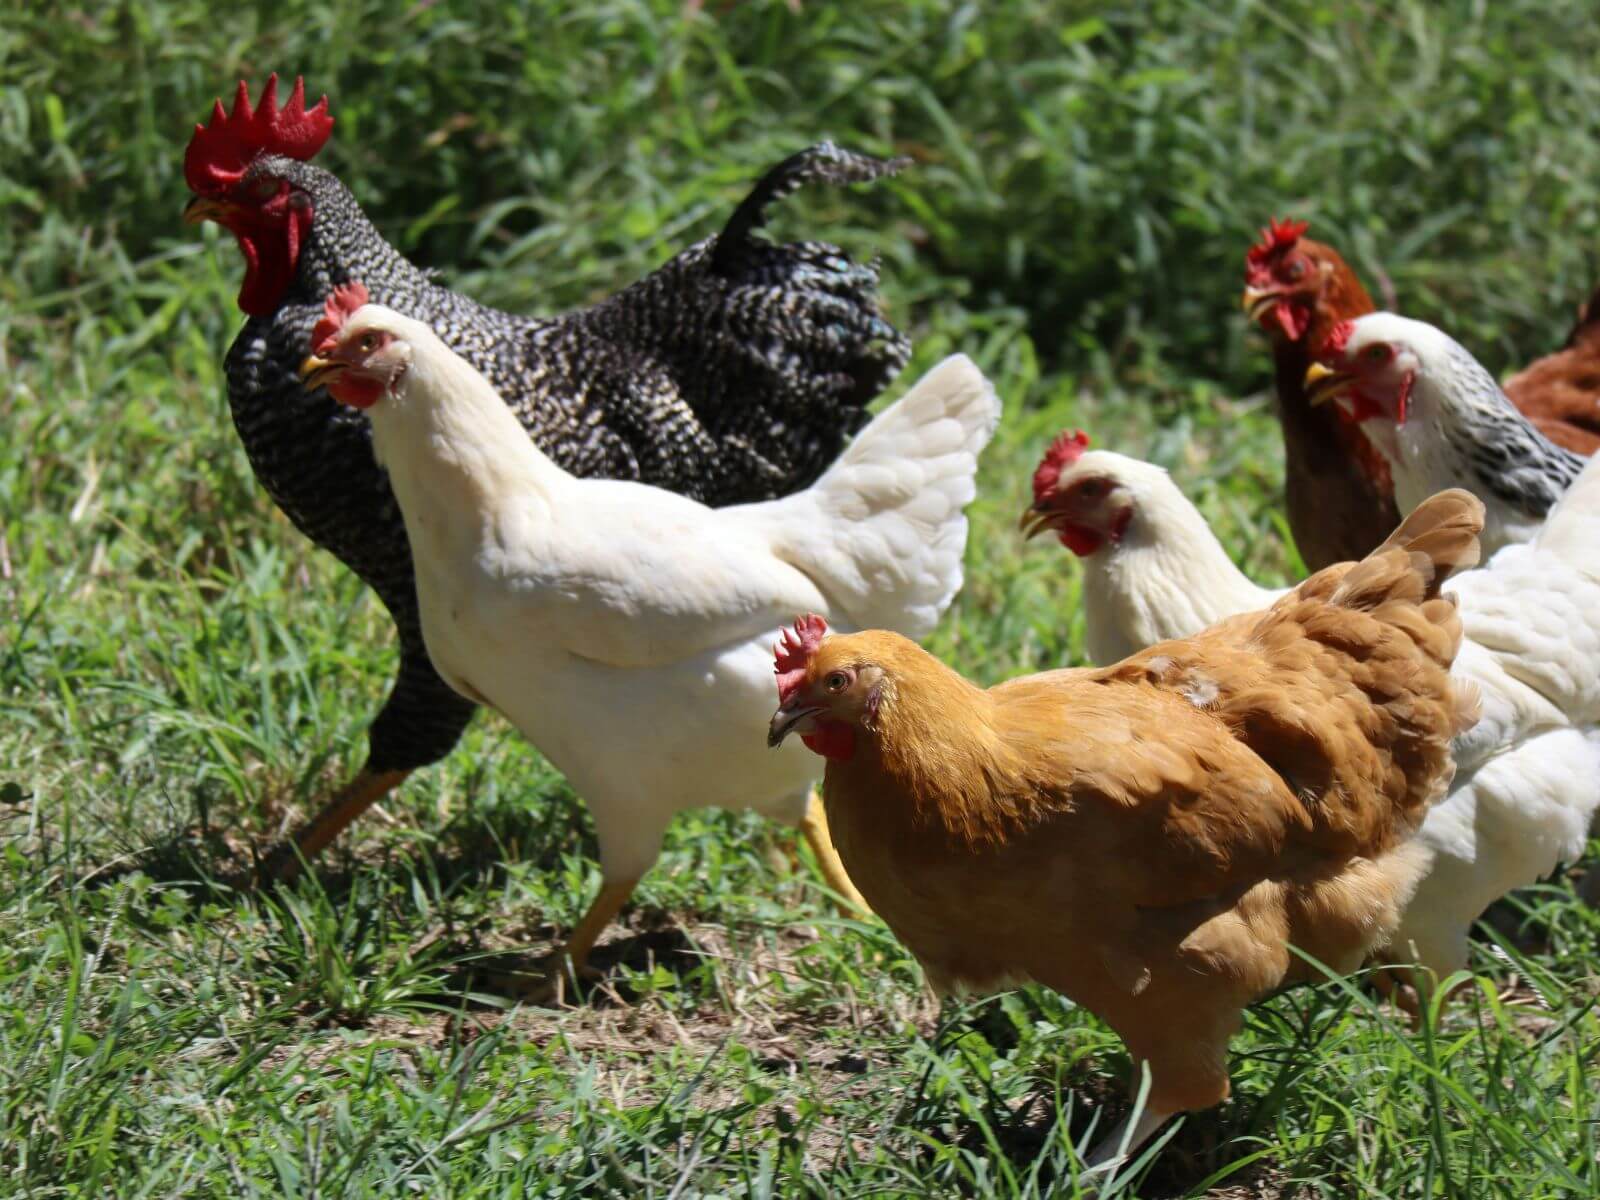
We finally made it to spring! Although some of us maaay not be feeling the warmth of spring just yet, the longer days are here and its time to freshen up your flock! Spring cleaning is essential for maintaining a healthy and hygienic environment for your chickens. Not only does it help ensure your flock is living in comfort, but it also prepares them for the warmer weather ahead. Whether you’re a seasoned chicken owner or new to keeping chickens, a deep spring cleaning for your chicken coop is necessary to prevent diseases, manage waste, and keep your chickens productive.
In this guide, we’ll walk you through the essential steps for spring cleaning your chicken coop. We’ll cover everything from cleaning the coop itself, to preparing your garden with compost made from the deep litter method, to ensuring your chickens are ready for the warmer weather. Of course, these are just suggestions and tools I recommend people use, these tasks I personally do every spring to make sure my flock is ready for the warmer weather!
Why Spring Cleaning for Your Chicken Coop Is Important
Spring cleaning for your chicken coop is about more than just tidying up—it's a chance to deep clean and refresh the environment where your chickens live. After months of winter, the coop may have accumulated a lot of waste and debris, which can lead to unpleasant odors and unhealthy living conditions for your flock. Spring cleaning ensures the coop remains a safe, hygienic space, reducing the risk of illnesses such as respiratory infections, mites, or other parasites. A clean coop promotes healthy chickens, which means better egg production and an overall thriving flock.
In addition, cleaning the coop gives you the opportunity to inspect all areas for any damage or wear and tear that may have occurred over the winter. By taking proactive steps now, you’re setting your chickens up for a comfortable and healthy spring and summer season.
 Step 1: Clean Out the Old Bedding and Waste
 Step 1: Clean Out the Old Bedding and Waste
The first task in your spring cleaning for your chicken coop is to remove all old bedding, waste, and debris. Over the winter, your chickens may have produced more waste than usual, especially if they were confined to the coop due to bad weather. If you’ve been using the deep litter method, it’s important to clear out the accumulated bedding and droppings to prevent excess moisture, which can lead to unpleasant odors or even mold growth.
Start by gathering a rake or shovel to remove the old bedding. Wear gloves and a mask to protect yourself from dust, bacteria, and any potential spores that may be present. Once the bedding is cleared, be sure to remove all the leftover droppings from the coop floor, nesting boxes, and roosting bars. Sweep away any excess waste and debris to ensure the space is clean and dry.
Step 2: Scrub and Disinfect Surfaces
 Step 2: Scrub and Disinfect Surfaces
After removing the old bedding and waste, it’s time to scrub down all surfaces in the coop. This step is essential for eliminating any lingering bacteria, mold, or germs that could harm your chickens. Using a mild soap and water solution, thoroughly clean the walls, roosting bars, nesting boxes, and floors. Be sure to scrub areas where waste and moisture tend to accumulate.
Once the coop is cleaned, follow up with a safe, non-toxic disinfectant. A vinegar-water solution or an agricultural-grade disinfectant can be used to sanitize surfaces. This ensures that any bacteria, germs, or parasites are eradicated. Let everything air dry before putting fresh bedding back in the coop.
Step 3: Turn Your Deep Litter Method into Compost for Your Garden
 Step 3: Turn Your Deep Litter Method into Compost for Your Garden
If you've been using the deep litter method in your chicken coop, you're in luck! The bedding and chicken waste accumulated throughout the season can be turned into rich, nutrient-dense compost for your garden. The deep litter method involves layering bedding materials such as straw, wood shavings, or leaves, which slowly decompose over time. This method is not only a convenient way to manage waste, but it also creates valuable compost that can enrich your garden soil.
After cleaning out the old bedding from the coop, you can begin the composting process. Gather the used bedding and place it in a compost bin or pile. Be sure to mix the litter with fresh bedding to encourage decomposition. Over time, this organic material will break down, creating dark, crumbly compost perfect for your vegetable or flower gardens.
To speed up the composting process, turn the pile regularly to introduce oxygen and maintain moisture levels. In a few months, you’ll have rich, high-quality compost that’s ideal for enriching your garden and supporting healthy plant growth.
Step 4: Clean and Refill the Nesting Boxes
 Step 4: Clean and Refill the Nesting Boxes
Nesting boxes are essential for your hens to lay eggs in a clean and comfortable environment. During your spring cleaning for your chicken coop, make sure to thoroughly clean the nesting boxes. Remove any old bedding, feathers, and waste from the boxes, as these can contribute to unpleasant odors and unsanitary conditions.
After cleaning, inspect the boxes for any damage. Look for cracks, broken wood, or signs of wear that might need repair. Once the boxes are clean and in good condition, add fresh bedding, such as straw or wood shavings. A clean and cozy nesting box encourages hens to lay eggs in a comfortable and hygienic space.
Consider adding some herbs like lavender or mint to the nesting boxes to help reduce odors and discourage pests. Fresh bedding and a healthy environment will ensure your hens are happy and productive during the egg-laying season.
Step 5: Prepare for Warmer Weather: Ventilation and Cooling
 Step 5: Prepare for Warmer Weather: Ventilation and Cooling
As temperatures begin to rise, it’s crucial to prepare your chicken coop for warmer weather. Proper ventilation is essential to keep the coop cool and prevent overheating. Check the windows, vents, and doors to ensure they are clear of debris and working properly. Good airflow helps regulate temperature and provides fresh air, which is especially important as the weather warms.
If you live in an area with particularly hot summers, you might want to consider installing fans, shade cloth, or even a cooling system to help keep your chickens comfortable. You can also provide outdoor shaded areas for your chickens to rest and cool off during the hottest parts of the day.
Maintaining a cool and well-ventilated coop helps reduce stress on your chickens and ensures they stay comfortable as the temperatures rise.
Step 6: Check Your Flock for Health Issues
 Step 6: Check Your Flock for Health Issues
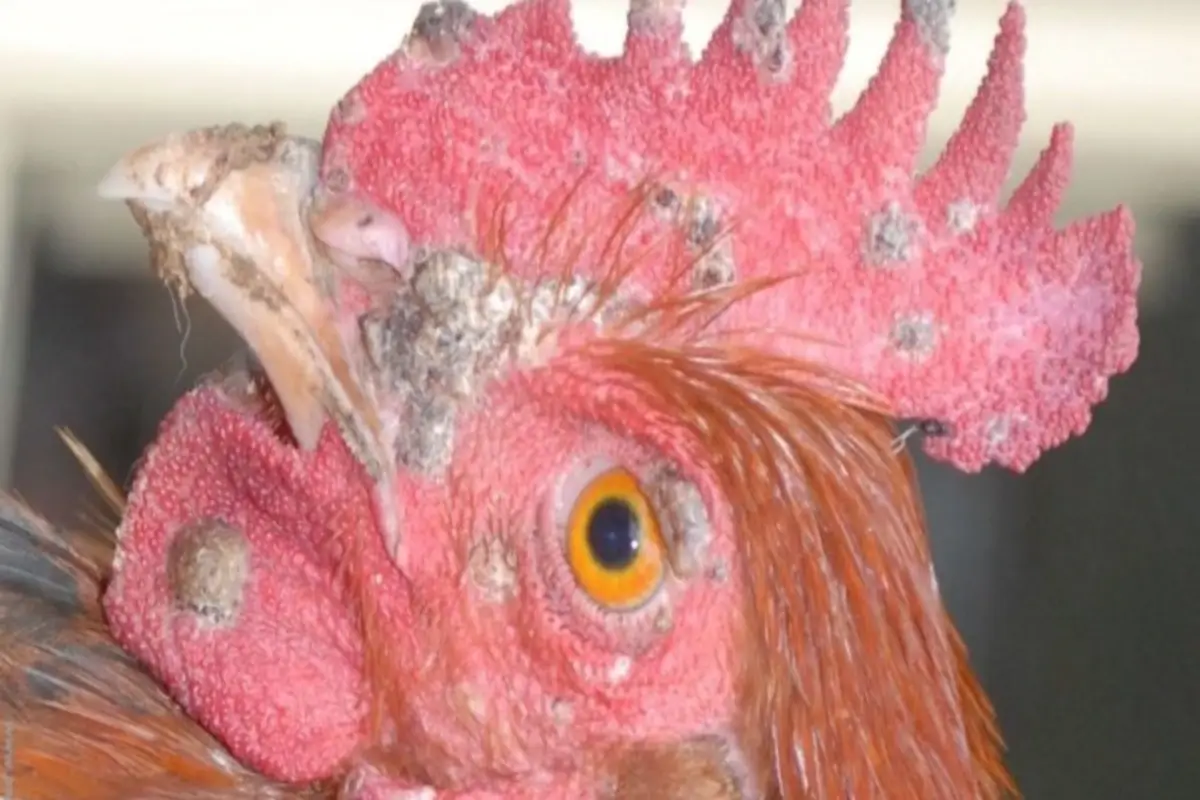
Spring cleaning for your chicken coop isn’t just about cleaning; it’s also the perfect time to check your flock’s health. Look for any signs of illness or discomfort, such as changes in behavior, feather loss, or abnormal droppings. Spring is a great time to check for external parasites like mites or lice, which can become more active as temperatures increase.
Perform a thorough check of each chicken’s health, and make sure their feathers, skin, and combs are in good condition. If you notice anything unusual, such as lethargy, poor appetite, or changes in egg production, consult a veterinarian to address the issue early.
Spring cleaning for your chicken coop is an essential task for any chicken owner. By following these steps, you’ll ensure that your flock is living in a safe, clean, and comfortable environment, ready for the warmer months ahead. From removing old bedding and waste, to creating rich compost for your garden, to preparing the coop for the heat, spring cleaning is a comprehensive process that benefits both you and your chickens. Taking the time to clean and inspect your coop will lead to healthier chickens, better egg production, and a thriving backyard flock.
As you tackle your spring cleaning, remember that a little effort now will make all the difference for a happy and productive season. Happy cleaning!