Table of Contents
How to Naturally Dye Easter Eggs: A Step-by-Step Guide
Looking for a healthier, more creative way to celebrate Easter? Skip the artificial dyes and turn your kitchen into a natural color lab! In this guide, we’ll show you how to dye Easter eggs using common ingredients like cabbage, turmeric, beets, and more. It’s easier than you think—and the results are just as beautiful (if not more so) than store-bought kits.
Whether you're hoping to ditch synthetic chemicals, enjoy an eco-friendly craft with your kids, or just love a hands-on holiday project, this blog will walk you through everything you need to know to create vibrant, naturally dyed Easter eggs. We’ll use a single, easy-to-follow method for all colors and then list the different ingredients you can use to get your desired shades.
Why Use Natural Dyes for Easter Eggs?

Learning how to naturally dye Easter eggs is a wonderful way to bring the beauty of nature into your home this spring. Unlike artificial dyes, which may contain questionable chemicals, natural dyes are non-toxic and made from ingredients you probably already have on hand.
Here are just a few reasons to go the natural route:
Safe for kids: No need to worry about harsh chemicals.
Eco-friendly: Compost your leftover dye materials when you're done!
Educational: Learn about natural pigments and where colors come from.
Unique results: Each egg turns out a little different—subtle, earthy, and beautiful.
Step-by-Step Instructions
We’ve simplified the process so you only have to remember one set of directions, no matter which color you want. Once you have your dye base, simply drop in your hard-boiled eggs and let the magic happen.
Pick your natural ingredient based on the color you want (see the ingredient list below).
In a small pot, combine your chosen ingredient with 1–1 1/2 cups of water, just enough to cover it.
Bring the mixture to a boil, then reduce the heat and simmer for 15 minutes (the longer it cooks, the stronger the color will be!).
Remove from heat and allow the mixture to cool completely.
Once cooled, strain out the solids using a fine mesh strainer or cheesecloth.
Pour the liquid into a bowl or jar, and for every 1 cup of liquid, add 1 tablespoon of white vinegar. This helps the dye stick to the eggshell.
Gently place your hard-boiled eggs into the dye bath.
Let the eggs soak for at least 30 minutes. For bolder colors, soak longer—up to several hours or overnight in the fridge.
When your eggs have reached the desired color, remove and pat dry with a paper towel (don’t rinse—as they may lose color!).
Refrigerate the dyed eggs until you're ready to eat or display them.
If you’re leaving eggs in the dye for more than an hour, be sure to place the container in the refrigerator to keep things safe and fresh.
Selecting Your Colors:

One of the best parts about naturally dyeing Easter eggs is that you likely already have everything you need right in your kitchen. Many of these ingredients—like turmeric, spinach, beets, and cabbage—are pantry staples or inexpensive produce items you can pick up at any grocery store. You don’t need to spend a fortune or hunt down anything fancy. Just a few simple, everyday foods can create a full rainbow of earthy, beautiful hues. Whether you're going for bright and bold or soft and subtle, here’s a list of common ingredients you can use to color your eggs naturally. Mix, match, and experiment to create your own unique palette!
Yellow
1 tbsp turmeric powder
A vibrant, golden yellow that’s bold and sunny. Turmeric works fast and produces consistent results.Optional: Saffron
This will give a subtler yellow tone with a beautiful golden undertone, but it's more expensive.
Orange
- ½ cup sweet potato skins + ½ of a chopped sweet potato
For a warm, earthy orange hue, sweet potatoes are a great natural option. Use the peels along with a bit of the flesh to help draw out more pigment. Simmer the mixture just like the others, strain well, and add vinegar before soaking your eggs. The result is a soft, sunset-like orange that feels perfectly at home in a spring basket. The color can deepen with longer soaks, so feel free to experiment with timing.
Red / Pink
1 tbsp beet powder or 1 small beet, chopped
Beet powder provides a concentrated dye that turns eggs a deep red or magenta shade. Fresh beets work too, though results may be more muted.For pinker tones: Use less beet and a shorter soak time!
Beets are a go-to for rich, vibrant reds and deep magentas. Beet powder offers the most intense color, while fresh beets give a softer, more natural tone. Want a lighter, rosier pink? Simply use less beet and shorten the soak time. It’s a versatile dye that lets you control the final color—from bold and dramatic to sweet and pastel.
Purple / Deep Blue
¼ head purple cabbage, chopped
Cabbage is one of the most fun ingredients because it shifts colors depending on pH. With vinegar, you'll get a gorgeous blue or bluish-purple.½ cup crushed blueberries
Blueberries yield rich, earthy blue hues and can also lean purple depending on your egg and soaking time.
You can use either cabbage or blueberries. The cabbage will have a deeper purple tone and the blueberries will be a more blue shade. You can even mix in other berries and see what color appears!
Blue
¼ head of chopped purple cabbage
Purple cabbage is one of the most reliable natural dyes for creating beautiful blue tones. When simmered and combined with vinegar, it shifts from purple to a cool blue, especially on white eggs. Let your eggs soak for several hours—or even overnight in the fridge—for the richest color payoff.Purple Cabbage + Spinach (Mixed Dye Method)
For a softer, more muted blue—almost like a dusty or steel blue—try mixing ½ cup of cabbage dye with ½ cup of spinach dye. This combo tones down the brightness of pure cabbage and gives you a more natural, moody blue. It’s perfect if you’re going for an earthy, farmhouse-style palette.
Green
2 tbsp chopped spinach
Spinach creates a soft, pastel green that feels fresh and springy. For a deeper color, blend the spinach using a hand emulsifier or blender before simmering. This helps release more pigment into the dye. Green is one of the more subtle shades, so don’t be afraid to let your eggs soak longer to build up that beautiful, earthy tone.
Mixing Colors: Get Creative with it!
Once you've mastered the base colors, don't be afraid to play around with mixing! One of the best parts of learning to naturally dye easter eggs is how flexible and creative the process can be. Try combining ½ cup of one dye with ½ cup of another to create your own custom hues. Just like mixing paint, you'll discover beautiful, one-of-a-kind colors you won’t get from a single ingredient.
Here are a few fun combinations to try:
Beet + Turmeric = a vibrant hot pink or coral tone
Cabbage (blue) + Spinach (green) = a soft, muted sage green
Blueberry + Beet = a rich plum or maroon shades
Clean-Up and Storage Tips
Don't rinse your eggs after dyeing. Gently pat dry with a paper towel to preserve the color.
Refrigerate dyed eggs if you're planning to eat them later. Always follow food safety guidelines—use within one week.
Leftover dye liquid can be stored in the fridge for a couple of days if you want to dye in batches.
Natural Easter Egg Dyeing is Fun, Safe, and Beautiful
Natural dyes may take a little more time than synthetic kits, but the results are well worth it. The colors are softer, more organic-looking, and totally unique. Plus, it’s a great way to connect with nature, especially for kids or anyone curious about how food and color interact.
From the sunny yellow of turmeric to the cool blues of cabbage and the earthy reds of beets, your Easter eggs can still be a colorful celebration—without the artificial stuff. Whether you're going for a rustic, pastel look or want to experiment with bold, deep tones, this guide will help you create your best Easter eggs yet.
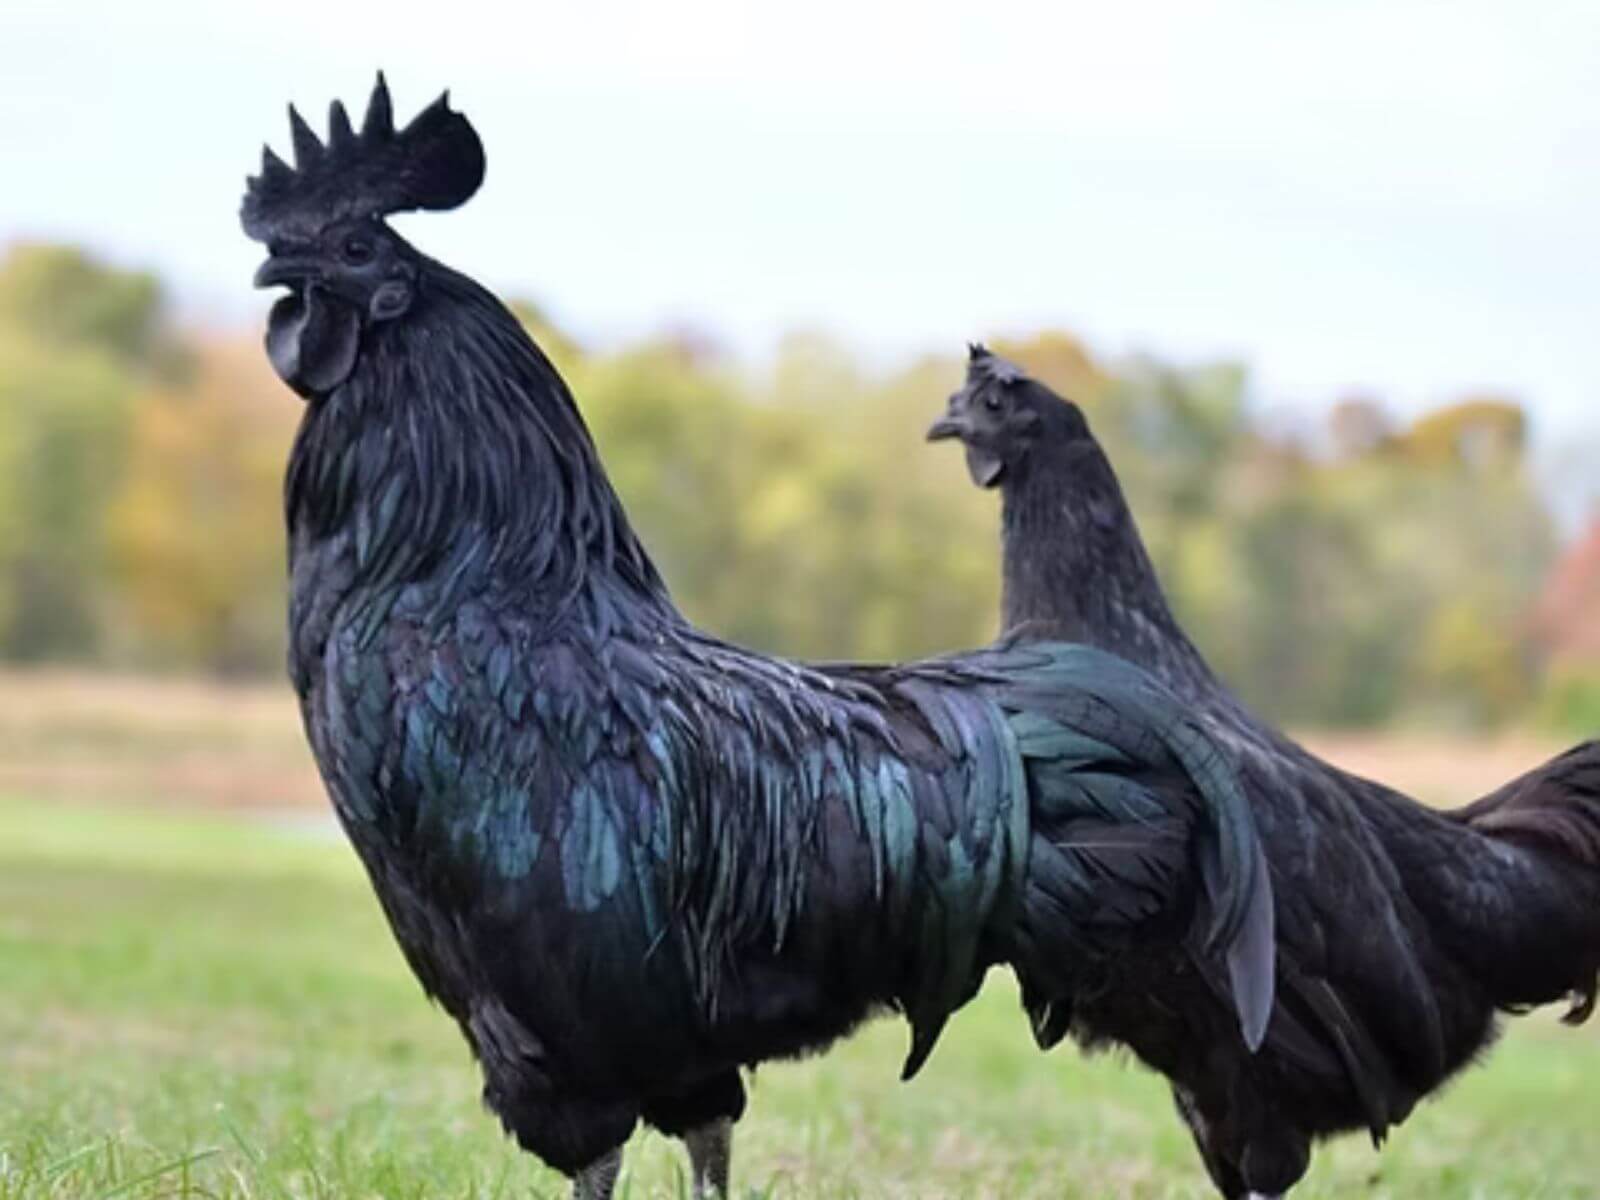
Want to learn about some chickens that already lay colored eggs? Check out our blog on Easter Eggers here!
FAQs
Can I use brown eggs instead of white eggs?
Yes! You can dye both brown and white eggs, but the final color will differ. Brown eggs often result in deeper, earthier tones, while white eggs showcase brighter, more vibrant hues. Both are beautiful—just expect some variation.
How long should I soak the eggs for the best color?
You’ll start to see color within 30 minutes, but for more vibrant shades, it’s best to soak them for several hours or even overnight. Just be sure to refrigerate the eggs if you're soaking them for more than an hour.
Are naturally dyed eggs safe to eat?
Yes—if you refrigerate them properly and use food-safe ingredients like vegetables, spices, and vinegar, the eggs are safe to eat. Avoid using eggs that have been left out at room temperature for more than two hours.
My colors look dull. What went wrong?
Natural dyes are more subtle than synthetic ones, but you can boost the color by:
– Making sure your dye is well-concentrated
– Blending ingredients like spinach or beets before simmering
– Soaking eggs longer
Can I save and reuse the leftover dye?
Yes! Store any leftover dye in a sealed container in the fridge for up to 3–4 days. Reheat or let it come to room temperature before using again. You may need to add a bit more vinegar before reusing.