Table of Contents
Chick Arrival Day – The Essential First 24 Hours

Phase Two: Chicks Are Here!
Congratulations— you've made it to chick arrival day! These first 24 hours are crucial for helping your new feathered friends transition smoothly from their shipping boxes into their cozy brooder. In this guide, we break down the key steps and tips to ensure a healthy, stress-free start.
Here's a quick recap of our Chick Preparation Essentials Checklist:
Setup:
Brooder ready 24 hours before arrival with 3-4" of absorbent bedding (pine, aspen, hemp, or paper).
Temperature:
Maintain 95-100°F at the brooder floor using a reliable heat lamp or radiant heater.
Feeding:
Install a chick-specific drinker and feeder; ensure fresh water and starter feed are available.
First Aid:
Keep a kit with electrolytes, vitamins, or a chick care kit on hand.
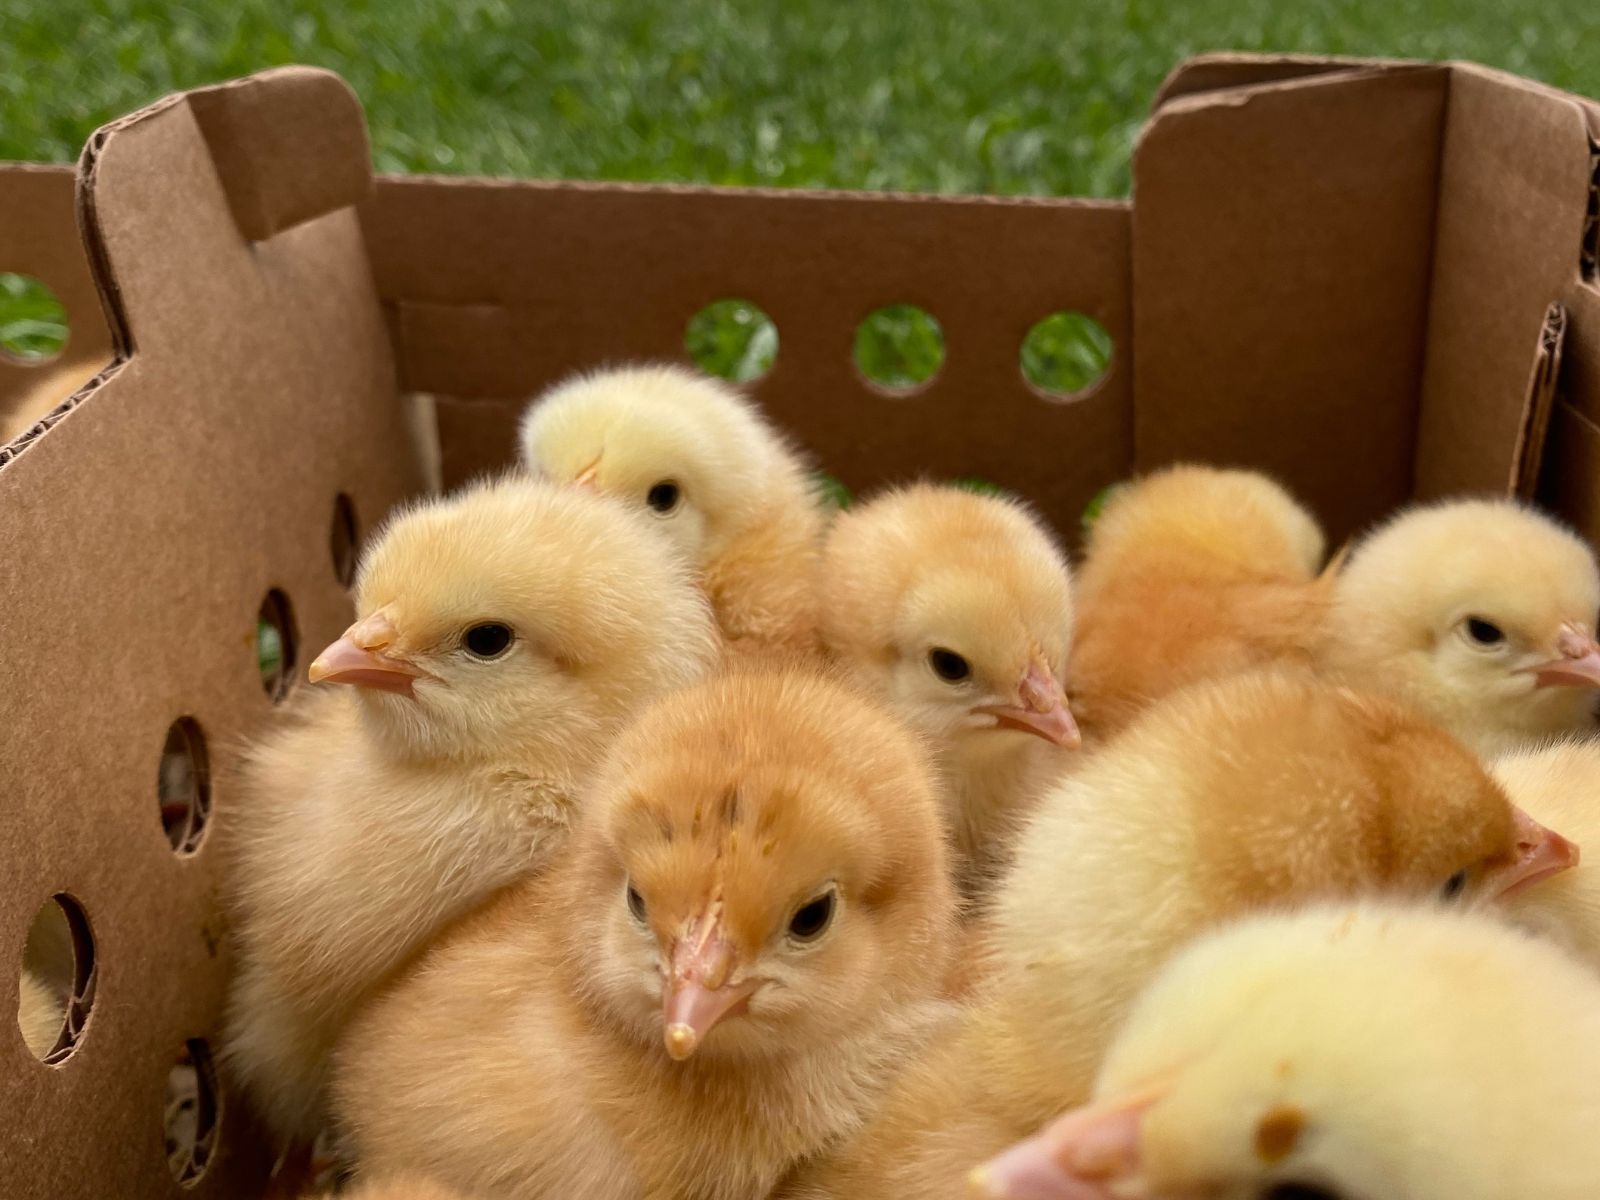
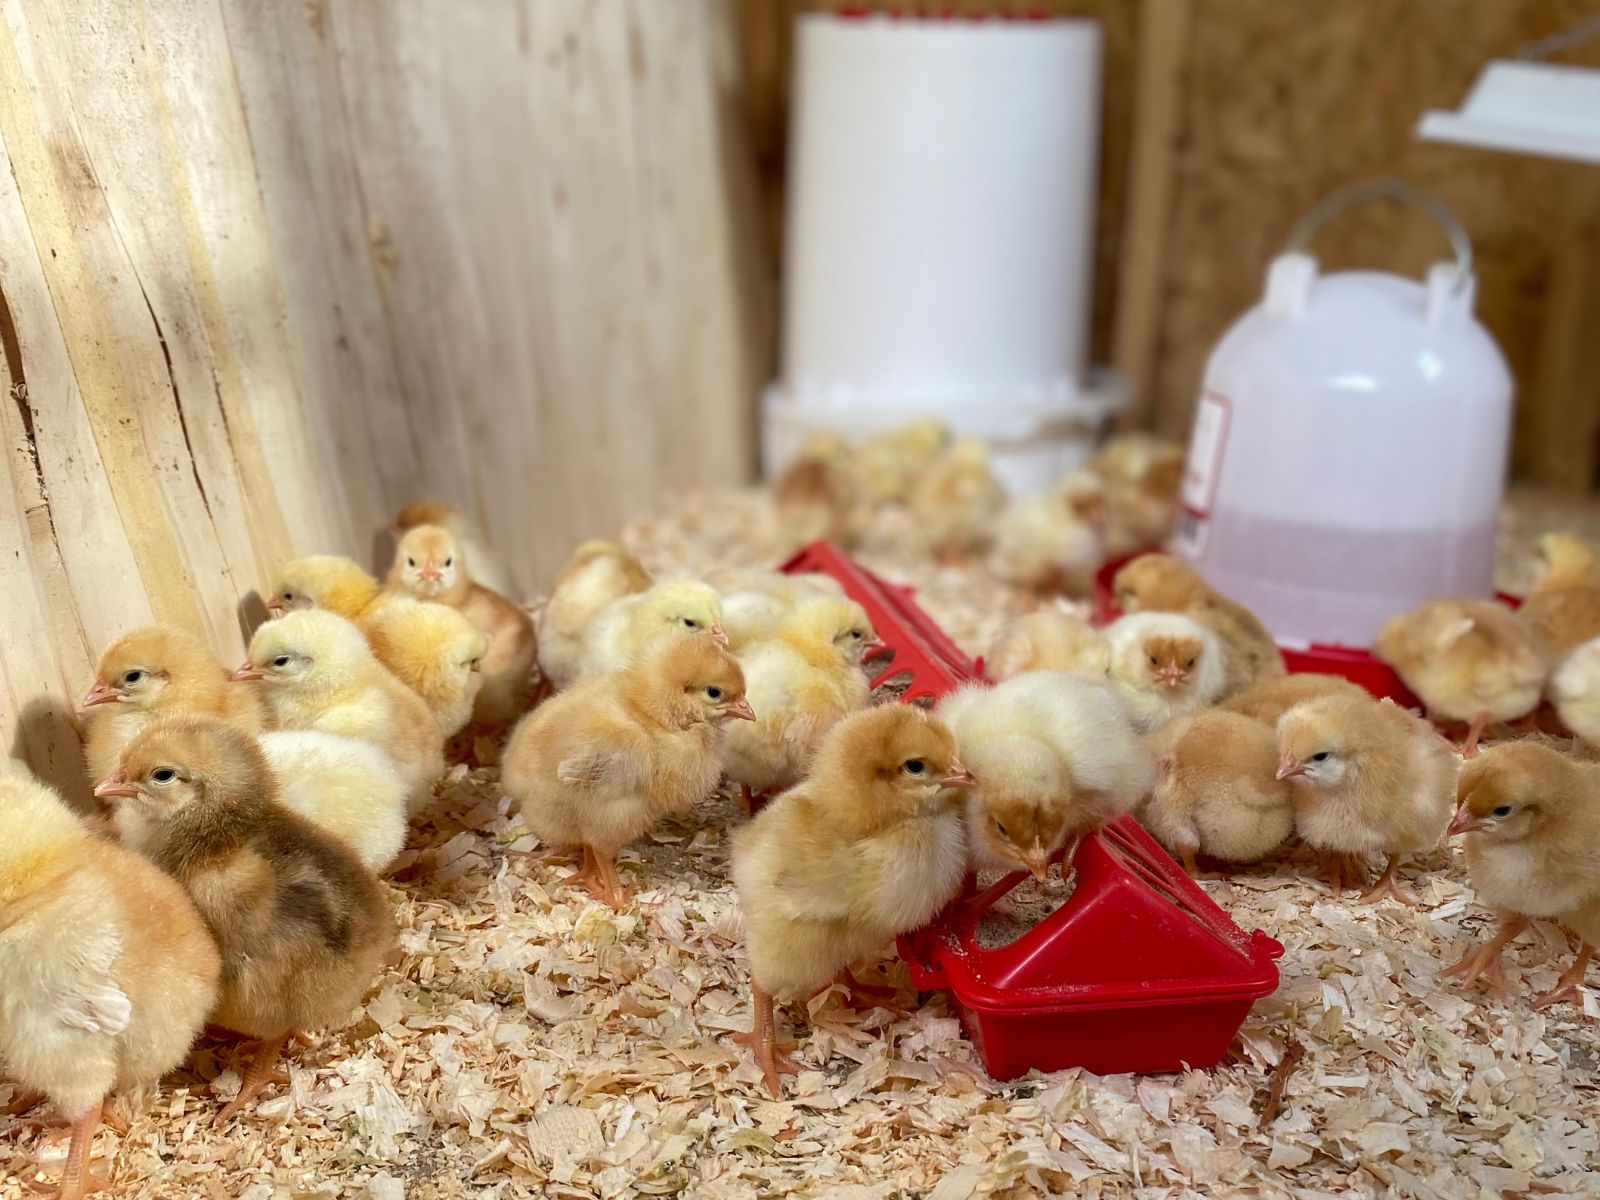
Safe Unpacking
Once the chicks are delivered, they should be gently removed from their shipping boxes with minimal disturbance. Unpacking should occur in a quiet, dimly lit area to prevent overwhelming stimulation and reduce stress. Handling the chicks with care in this calm environment is important, as sudden movements or loud noises can easily startle them.
 Feed & Water
 Feed & Water
Immediately after unpacking, it is important to address their nutritional needs. Fresh, clean water should be provided right away, and a simple method such as dipping each chick's beak in water can help them quickly learn where to drink. Alongside hydration, offering a high-quality chick starter feed supplies the essential nutrients needed for rapid growth and energy during their first day. Some chicks may need time to get warm before they eat or drink - let them have some time to get familiar with their new surroundings, then help them find food/water if needed.
Health Check & Additional Measures
 Health Check & Additional Measures
A brief initial health check is also recommended. Careful observation for any signs of shipping stress or minor injuries is essential. Common issues, such as pasty butt—where droppings accumulate and block the vent—should be identified early. Prompt adjustments to the brooder’s conditions can help mitigate these issues and prevent more serious complications. Observing the chicks’ behavior can provide valuable cues; if they are huddling closely together, it may indicate they are too cold, while a tendency to spread out might suggest the environment is too warm. A simple way to make sure they are warm is to have a reliable thermometer in the brooder to help ensure that the temperature remains ideal for their continued development.
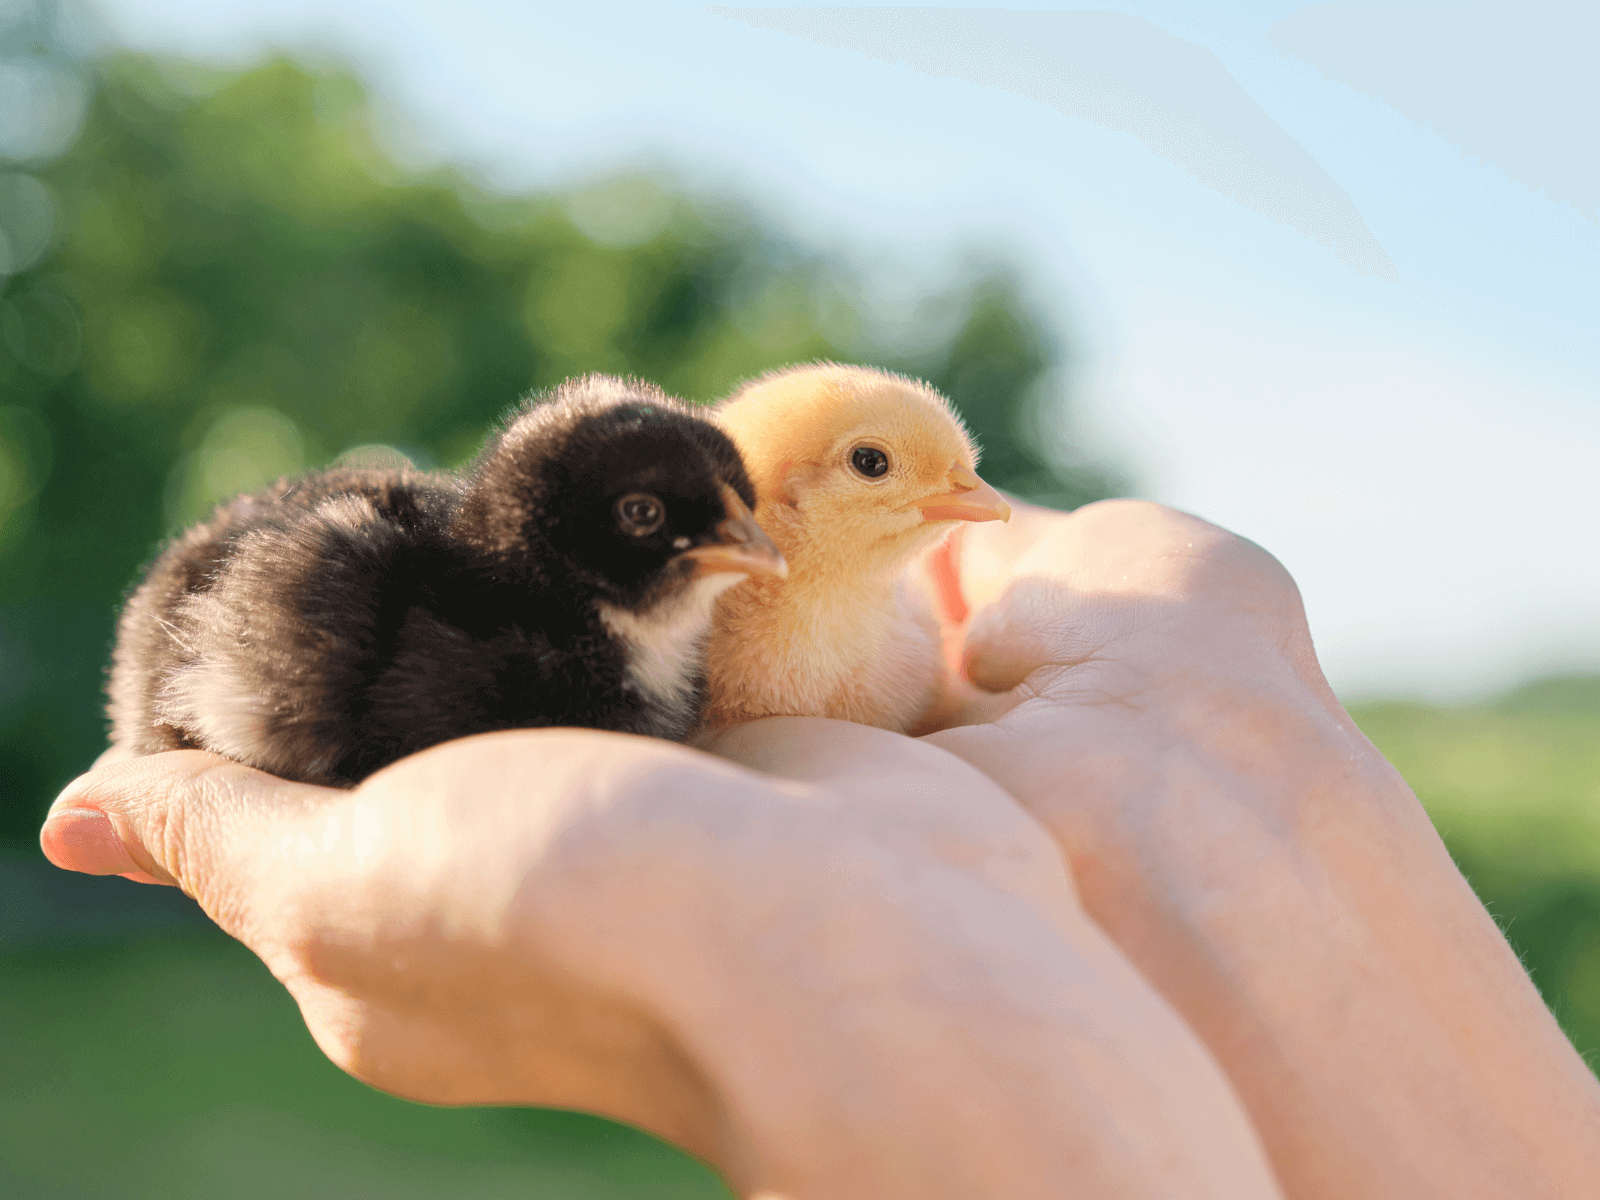
While it's normal for chicks to be a bit restless, observe their interactions carefully. Look for signs of distress or abnormal behavior that might require attention. Although it is encouraged to interact with chicks to increase their familiarity with you, minimizing further handling during the first few days can help them gain strength after the stress of travel.. It’s always important to double check all equipment such as feeders, waterers, and heat sources are functioning properly, and promptly cleaning up any packaging debris to maintain a hygienic environment. Observing the interactions among the chicks can also be helpful, as any signs of distress or unusual behavior might require further attention.
By following these guidelines during the first 24 hours, you’re setting a strong foundation for healthy growth and development. These early moments are critical for reducing stress and helping your chicks adjust to their new home. As they settle in and thrive, the next step is ensuring their continued growth and preparing for their big move to the coop—learn how to transition them smoothly in our next guide on growing chicks and introducing them to their new home.
Phase Three: How to Raise Healthy Chicks
FAQs
How often should the brooder temperature be checked?
It is recommended to check the temperature at least twice a day and make gradual adjustments based on the chicks’ behavior.
What signs indicate that a chick might be too cold or too warm?
Chicks that huddle tightly together are likely too cold, whereas those that spread out across the brooder may be experiencing too much warmth.
What should be done if a chick shows signs of pasty butt?
Gently clean the affected area and ensure that the brooder conditions, such as temperature and humidity, are optimal. Consult additional resources if the condition persists.
Why is minimal handling important during the first day?
Minimizing handling helps reduce stress and allows the chicks to settle into their new environment more comfortably.